
1. Sign in to your Google account.
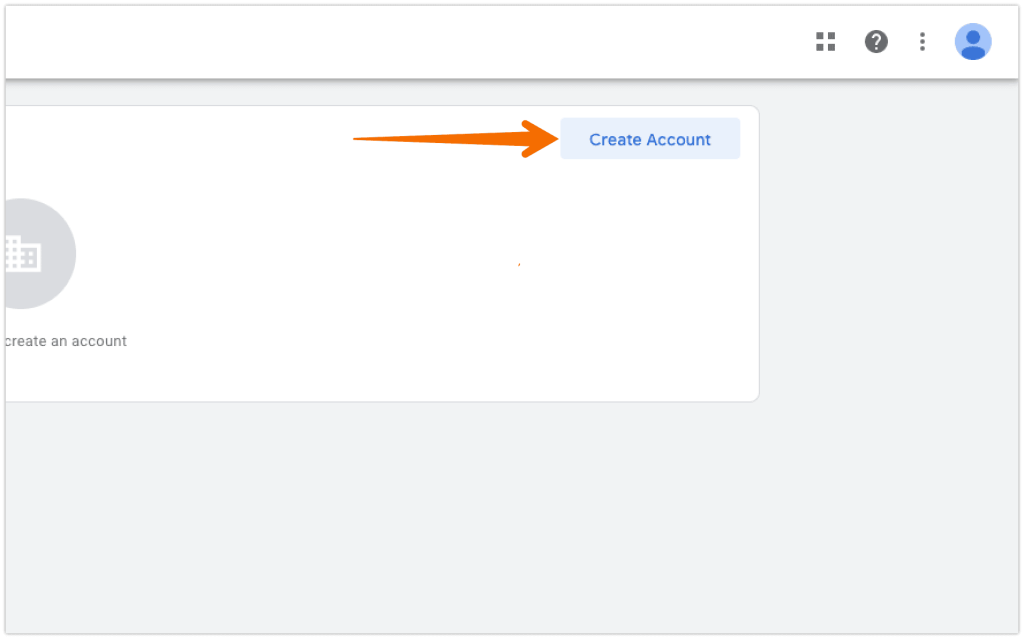
2. Go to the Google Tag Manager home and click on the Create Account button on the right.
3. Enter the account and container name. The container holds all your tags, such as the Google Analytics tag, Google Ads tag, or ChatBot tag. Choose the target platform to web and click on the Continue button.
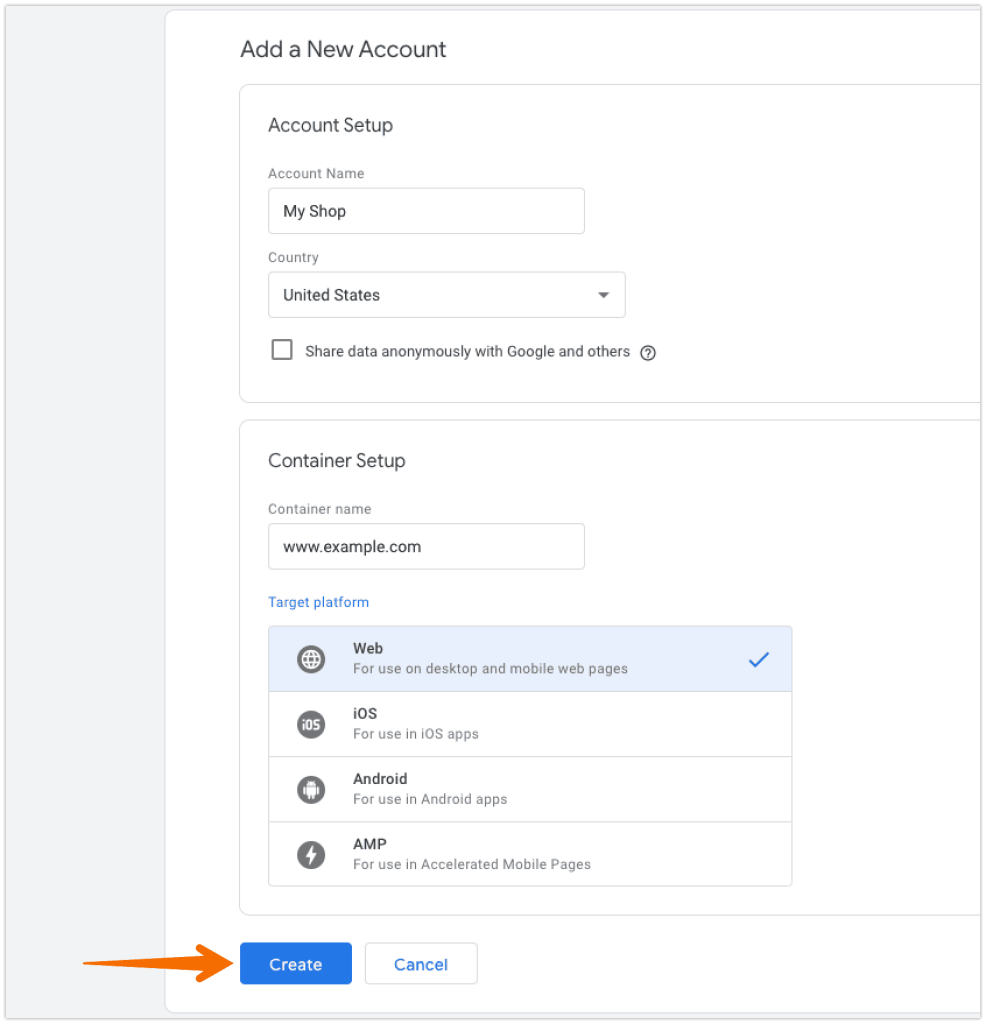
4. Read through the GTM Terms of Service, click Yes to accept them, and continue.
5. You’ll get a container with a code snippet. Copy the code and paste it into every page of your site in the recommended places.
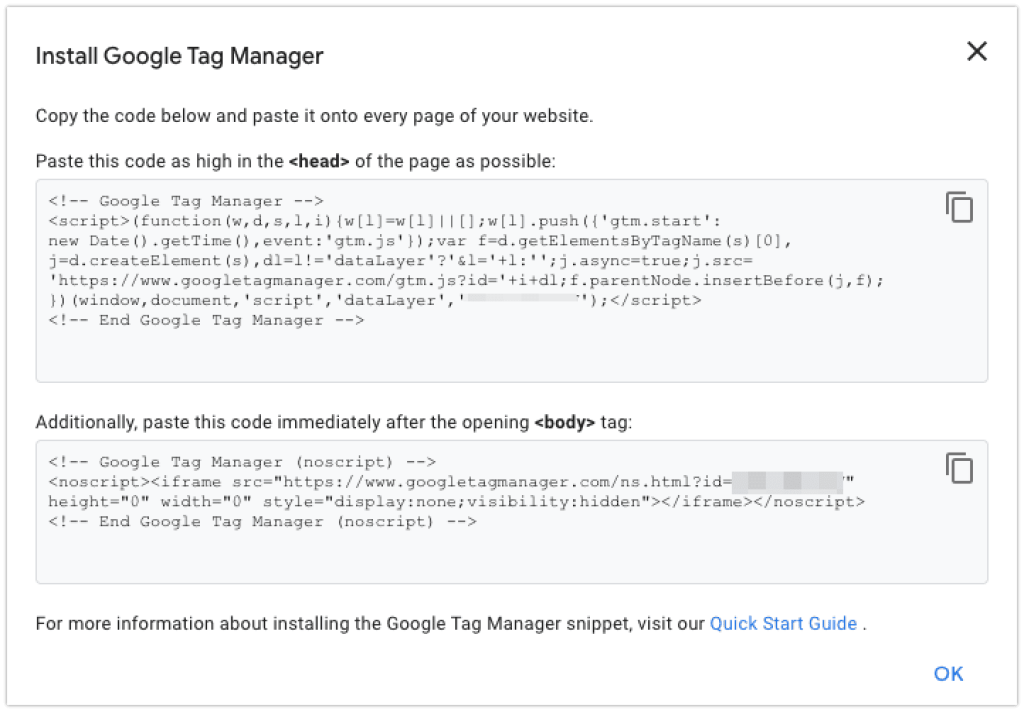
6. Click Ok to close the code snippet box and finish setting up the GTM manager and your first container.
Adding the ChatBot tag to your website
1. Go to your chatbot flow and click on the integrations icon. Then click on the “Connect” button for the chat widget integration.
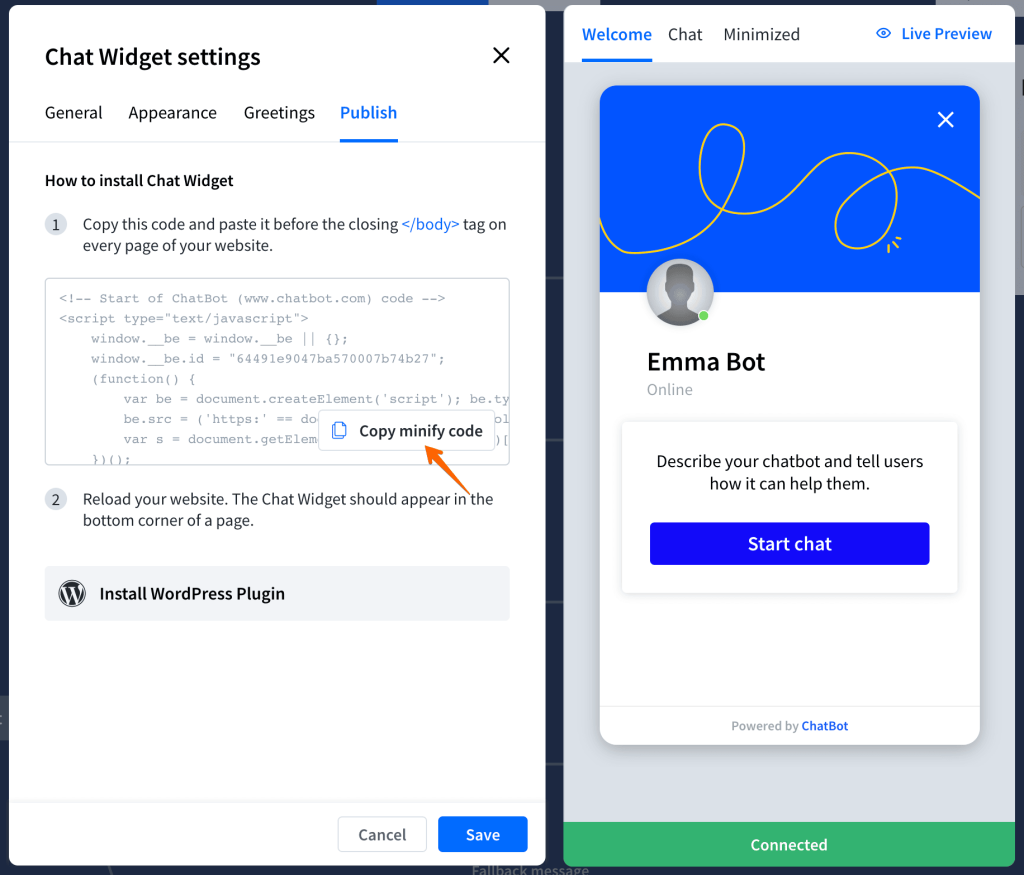
2. Go to the Publish section in the chat widget integration screen.
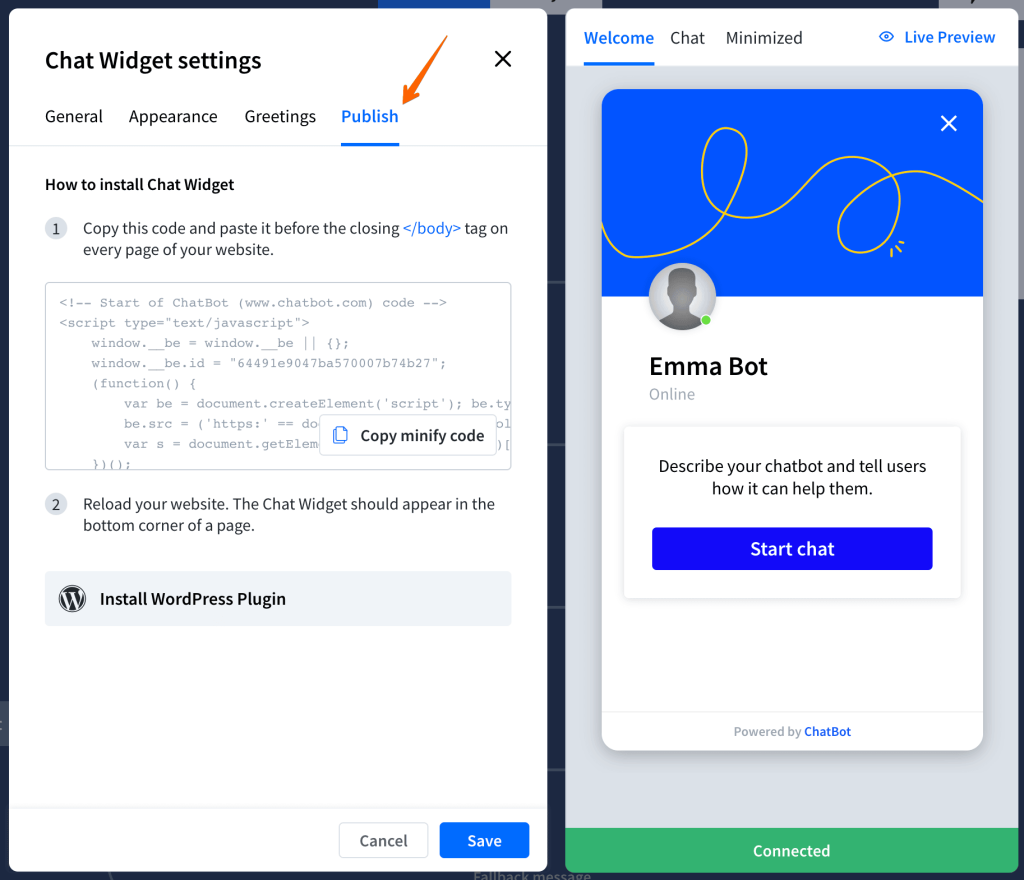
3. Click on the Copy minify code button.
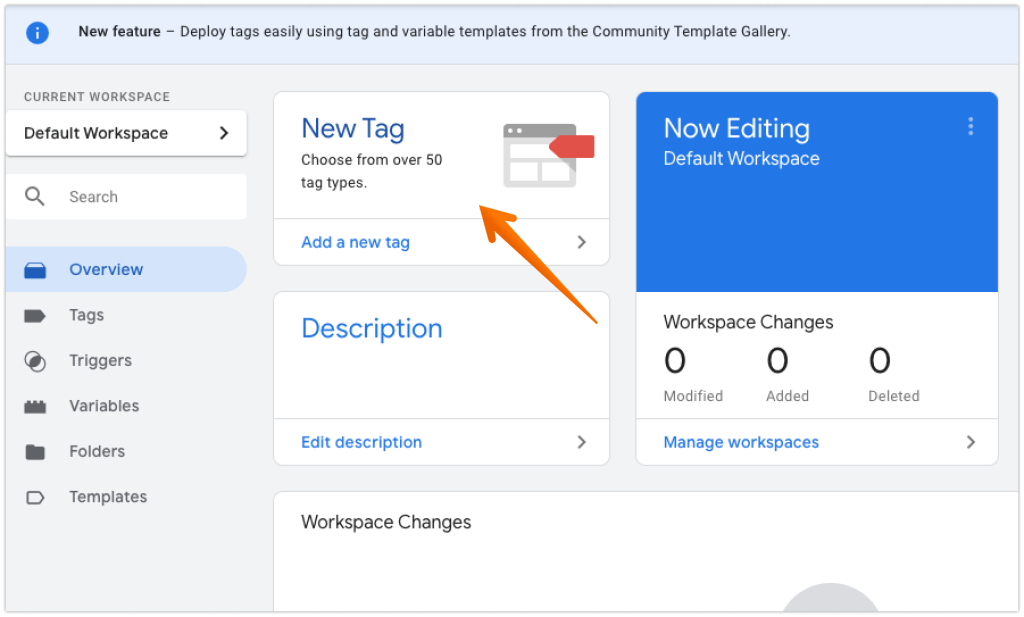
4. In the Google Tag Manager Home, click on the New Tag tile.
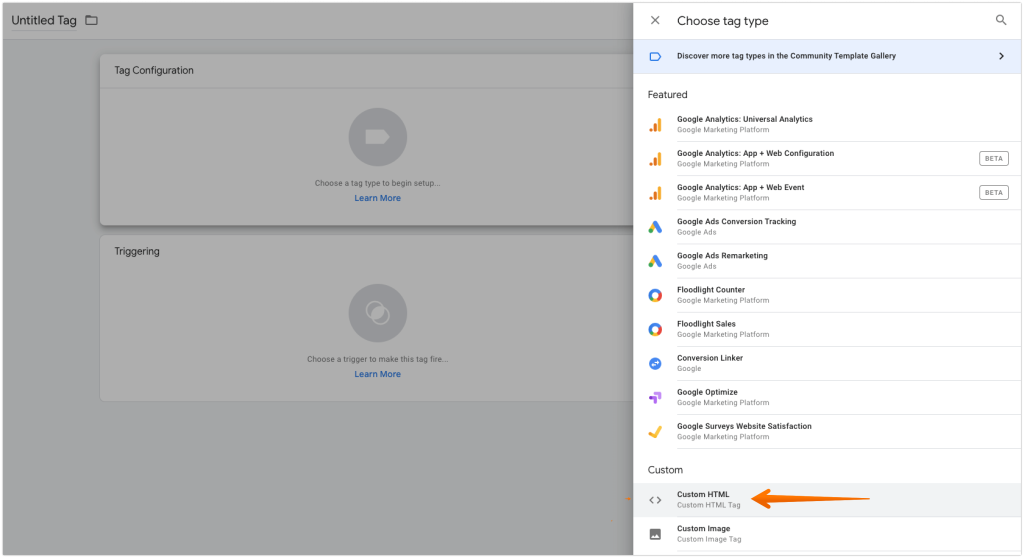
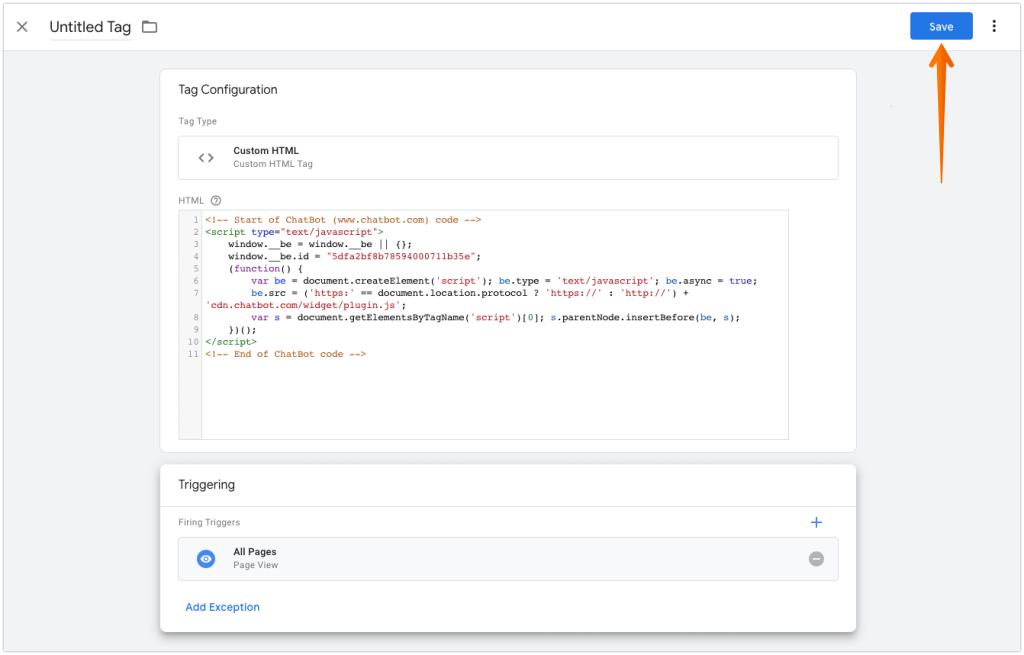
5. Click on the Tag Configuration tile and select Custom HTML from the tags list.
6. Paste the ChatBot tracking code to the HTML field.
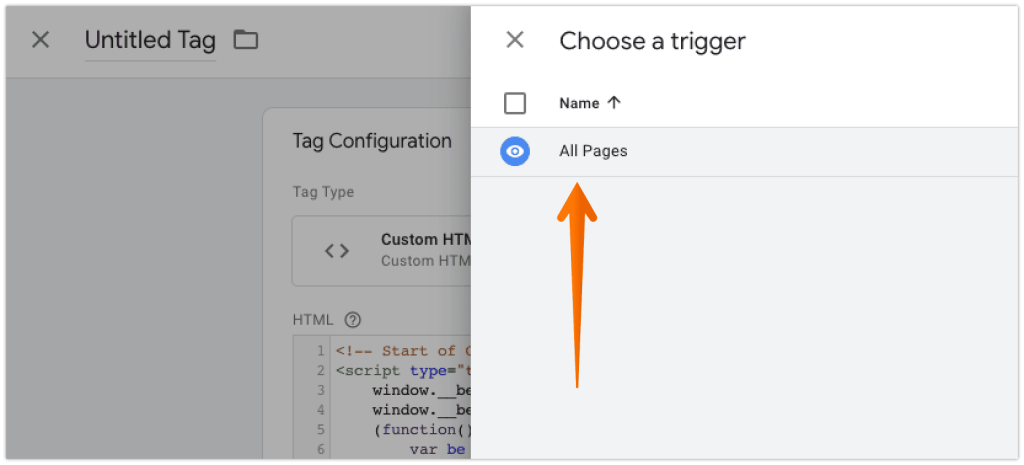
7. Click on the Triggering tile and select All pages from the tags list.
8. After you add the trigger, hit the Save button on the right.
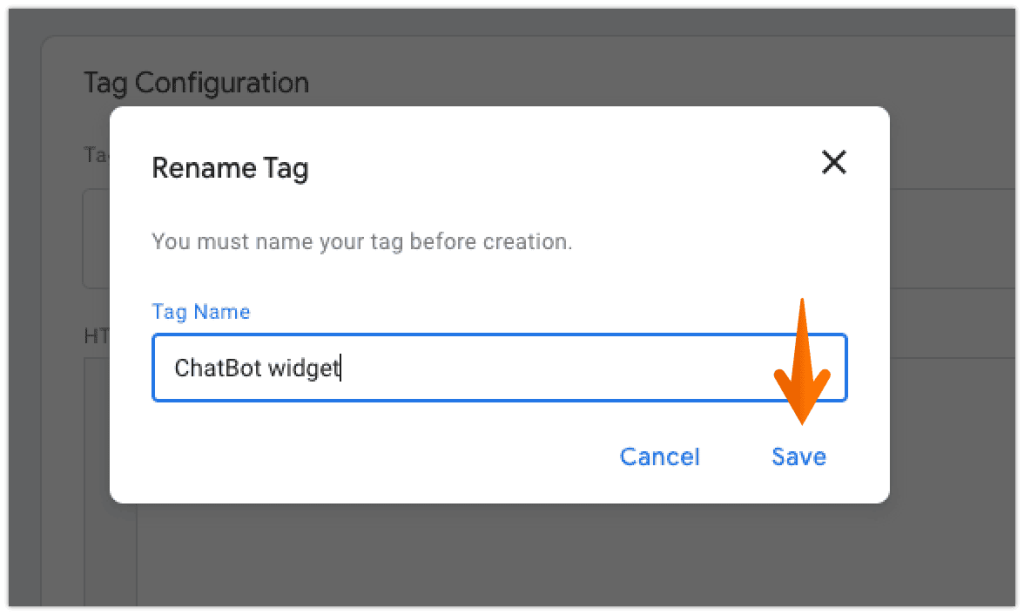
9. Name your tag and click Save.
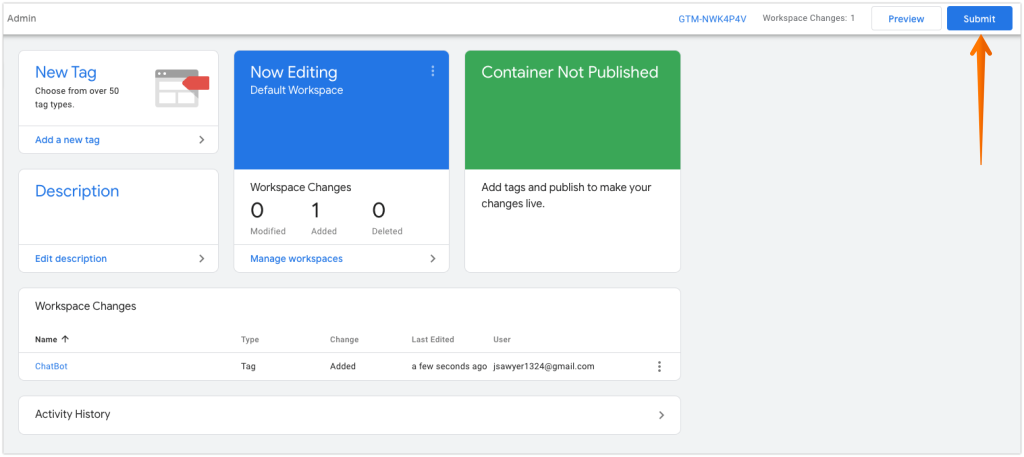
10. Once you’re back in GTM’s home, click on the Publish button to apply the changes.
Sample KENYT.AI GTM CODE –
BOTID is the only variable.
<script>

  (function() {

    var el = document.createElement('script'); el.setAttribute('src', 'https://www.kenyt.ai/botapp/ChatbotUI/dist/js/bot-loader.js');

el.setAttribute('type','text/javascript');

el.setAttribute('data-bot',BOTID); document.body.appendChild(el);

  })();

</script>


