
- Login to the Kenyt dashboard
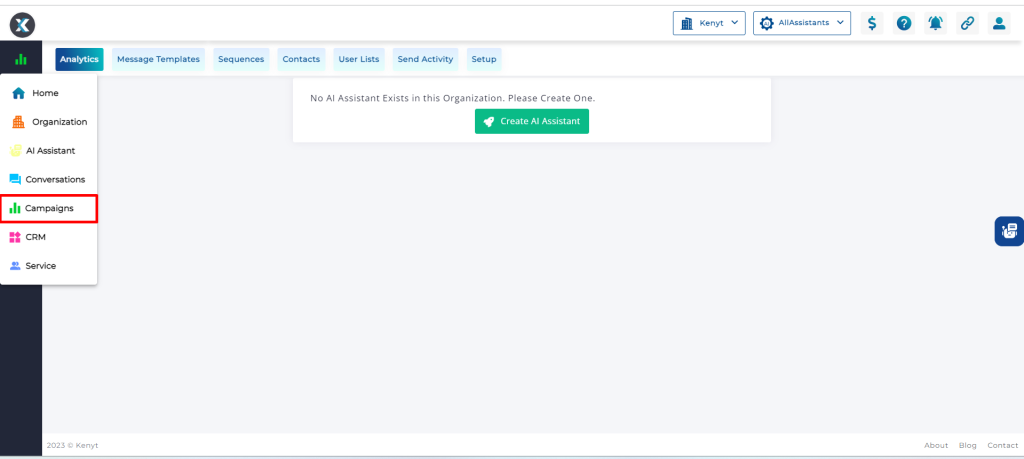
- On left hand panel kindly select the campaigns tab.
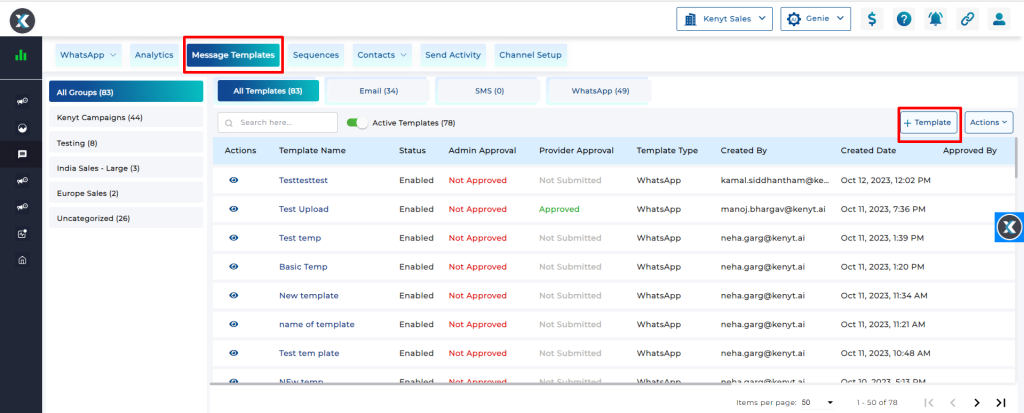
3. Under campaigns, click on Message Templates and Click on + Template on left hand side
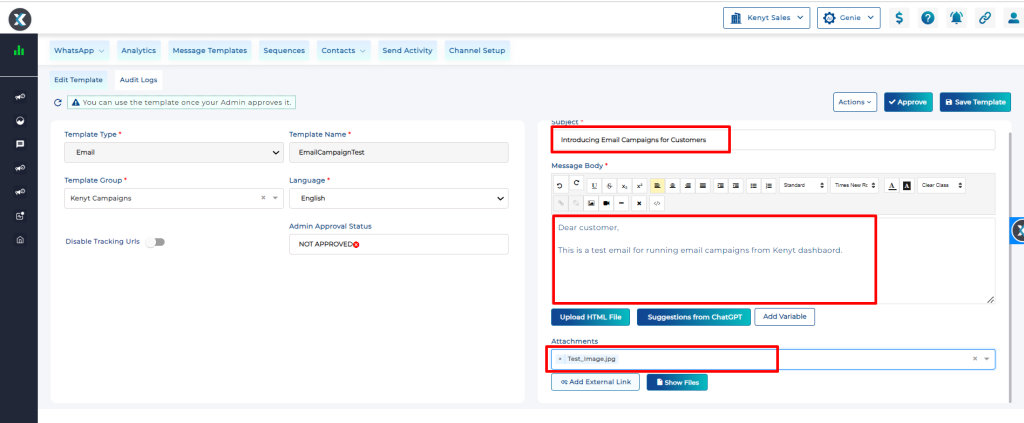
4. Select the template type as “Email” and add name for the template

5. Add the subject line, body and other attachments if any in the email campaign fields. Click on Save Template.
6. Once saved, click on Approve.

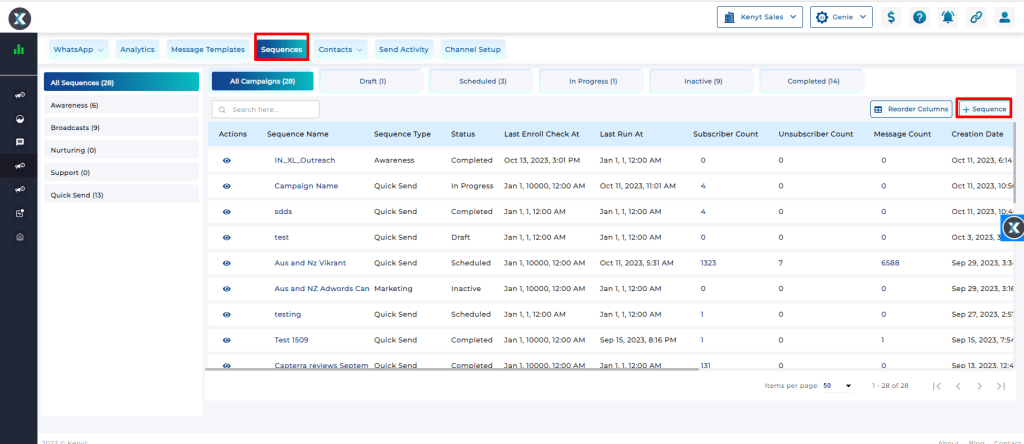
7. Under camapigns select Sequences and click on +Sequence.
8. Give a sequence name. Enable the execution type and click on save (top right).
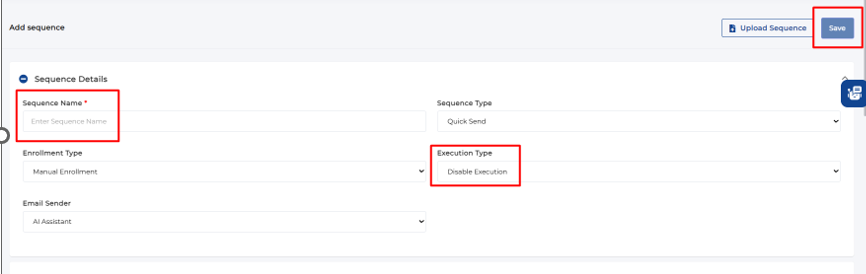
9. Once you click on save, just below execution type status, an option would be available by default which is the draft stage, change the status to scheduled.
Under Execution schedules – Select the day, hour and action.
(a) Day should be selected as 0 if the messages need to be triggered on the same day or you can select the day from the calendar.
(b) Hour should be selected as 0 if the messaged need to be triggered on the same instant or you can schedule it by putting time in 24 hour format.
(Time example – for 10am put 10, for 8 pm put 20, for 5pm put 17)
(c) under Action, kindly select the message template which needs to be broadcasted and click on add schedule and save it

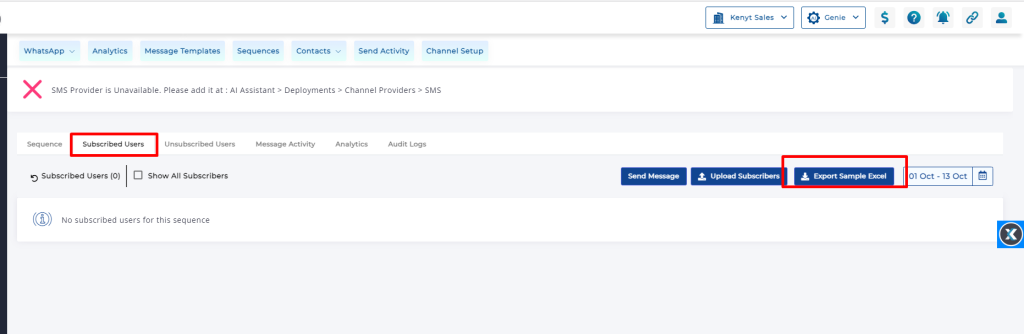
Once the scheduler is added and sequence is saved, click on subscribed users and select export sample excel.
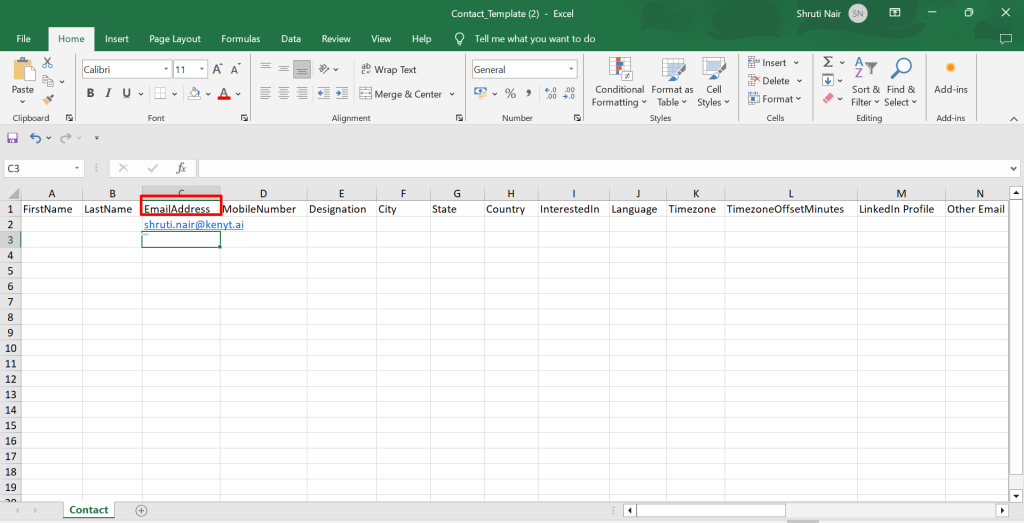
10. Add the email addresses in the email address column and then once done, click on “Upload subscribers” from the dashboard.
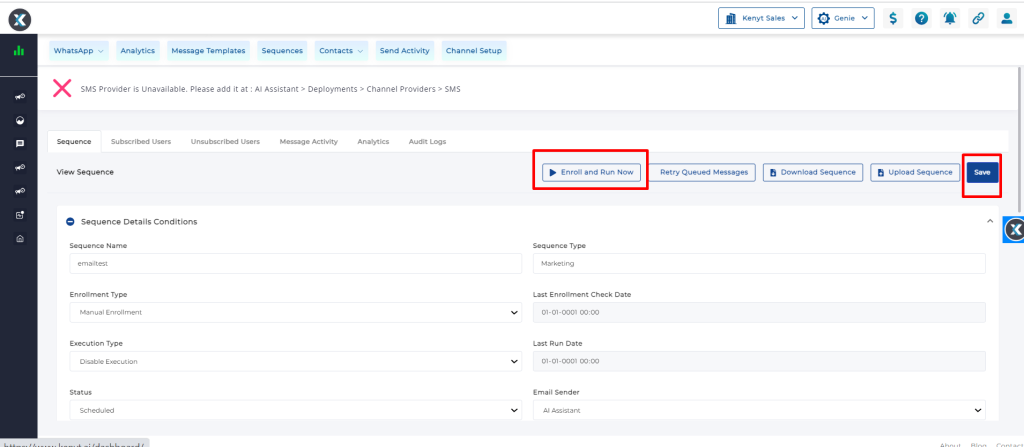
11. Once the upload is complete, you will get an email and then click on Save and Enroll and run now. The emails will be broadcasted within some time.
To follow the above blog in video, please click this link.


